Garage door safety has become more crucial since the early 1990s. Garage doors are required by federal law to have sensors that prevent any obstacles from being thrashed by them. So a growing number of people have been adopting electric garages, and garage door sensors are becoming rather commonplace.
Despite their widespread popularity, many people are still unaware of what they really do. Simply put, the sensors make sure the garage door closes easily and smoothly. The sensors will identify any obstructions in the way and stop the garage doors from moving further.
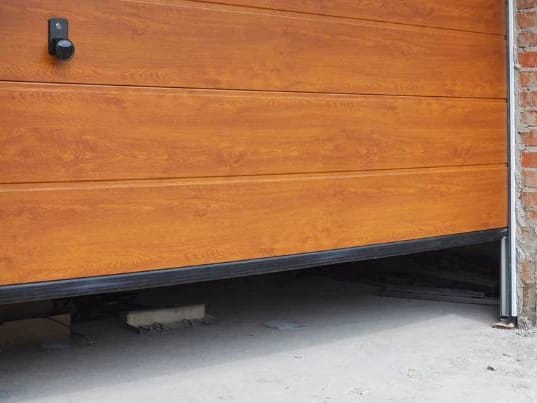
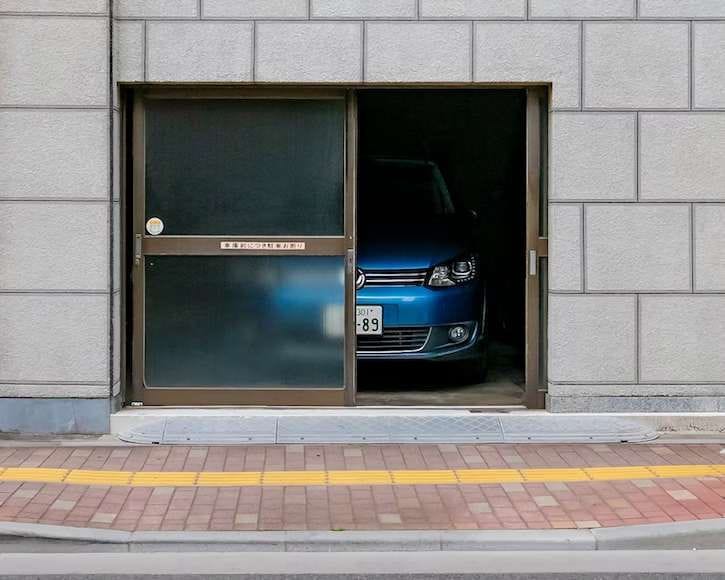
These sensors are positioned on either side of the majority of garage doors, close to the bottom. They create a simulated wall that can detect any person or object going through it by emitting an invisible infrared beam.
The garage door is prompted to halt and reverse if the laser beam is interrupted. Therefore, installing new garage door sensors or replacing the old damaged wires is a crucial technique for accident prevention in your garage. Thanks to these sensors, children, animals, and other things can be kept from getting tangled under the door.
Key Things to Know Before Installing or Replacing Sensors
Sensors for garage doors are intricate and often quite expensive gadgets. So they must be carefully maintained. But how can you tell if your garage sensor needs to be replaced?
If your garage door doesn’t close, regardless of how hard you press the buttons on the remote control or the door itself, this may be a sign that your garage door sensors are damaged or aren’t working properly. Even if the garage door starts to close, it will stop in the middle and return to the open position or become stuck halfway through opening or closing door.
The requirement for a new sensor might not always be the case. Sometimes, all they need is a good cleaning because they gather dirt over time. Simply use a soft cloth to wipe the garage door sensors routinely.
In the scenario where garage door safety sensors are completely damaged, sensor replacement must be your top concern as per federal regulations. More wiring issues or serious injuries can arise if you ignore the repair or put it off until later.
Step-by-Step Guide: Installing Garage Door Sensors
Garage door sensors are simple to install, especially with the proper direction and guidance. When installing them with a new garage door opener, it’s important to pay attention to the wiring and make changes to the safety sensors. Let’s have a look at the installation process for garage door sensors step by step.
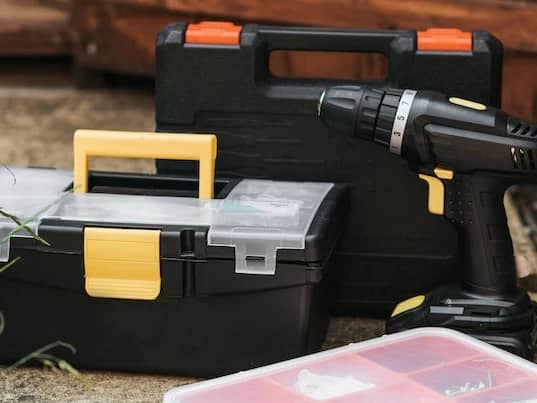
Ensure that you have the essential equipment:
As a first step, you need to ensure you have all of the necessary tools on hand. Purchasing new garage sensors is part of this. In order to prevent accidents, you should also double-check the condition of the garage doorway you are operating in. Also, make sure your kids and pets don’t enter the area if you have either.
Install sensors for the garage door opener.

- Push the garage door safety sensor against the provided bracket with the connected carriage screws, then manually fasten the two pieces using a wing nut. Correctly connect the next sensor using the same procedure.
- Attach the bracket’s clasp to the track of the garage door close to the ground. Position the bracket about 6 inches off the ground by sliding it along the track. The sensor needs to be oriented opposite the garage door opening.
- Repeat Step 2 for the 2nd bracket and sensor set.
- Find the colored wires’ ends that extend from the safety sensors. One solid white wire, one black, and one black and white wire should be present on each sensor. Separate the wires from one another by pulling them apart. Use a wire stripper to remove 7/16 inches of insulation tape from each wire’s tip.
- Place the wiring of the sensor up against the wall of the garage. Fasten and secure it to the wall using a staple gun and insulated staples. Use the staples sparingly around the wires to avoid piercing them. Do the same with the second sensor.
- Connect the wiring for the safety sensors to the aerial opener motor by running it up the garage wall and ceiling. Fasten the wire against the wall using the staple gun and insulated staples. Mark the staples at 12-inch intervals.
- A ladder is needed to reach the above motor. To increase safety, ask a companion to hold the ladder. The two solid white wires from the safety sensors are supposed to be twisted together by hand. Then find the overhead motor’s white terminal. The connection can be opened by pushing the tab on the terminal with a flathead screwdriver.
- Release the tab after inserting the white wires into the terminal. Repeat the same with black, and black and white wires, then step down from the ladder.
- Examine the two safety sensors. Their lights ought to be flashing to show that they are out of alignment.
- Now loosen the wing nut on one of the sensors with your hand. Start adjusting the sensors on the track to make the lights on both sensors stop blinking and become solid. You will have to keep adjusting the sensors until they are aligned. Once they are lined up, tighten the wired nuts manually.
- Turn on the power and the garage door openers so you can see how it works. With the safety sensors in place and aligned, the door should open and close smoothly.
Review the installation.
It’s time to test the safety sensors once you have installed them in your garage. Put something, perhaps a container or a box, between the sensors in the door’s path of the line. This will restrict the sensors’ light beam emitted, and the door will stop moving even if you try to shut it. If it doesn’t stop, the logic board for the sensors needs to be changed. After making the modifications, run the test once more.
If it still isn’t working, your best course of action would be to contact someone with the appropriate knowledge to provide a hand with the malfunctioning garage door sensor.
How Much Does It Cost to Replace Garage Door Sensors?

Garage door sensors are extremely sophisticated and can cost a lot of money when sensors malfunction . This explains why some individuals choose to ignore replacing them. But they jeopardize their house’s security by doing so.
The cost of replacing garage door sensors will fall between $80-$110 in addition to installation. It is recommended to have garage door sensors installed by a professional. A garage door sensor installation normally costs roughly $160-$180.
It’s crucial to keep your sensors maintained after installation. If they are in an area with a lot of dirt, be careful to clean them. This will ensure your sensors are operating at peak efficiency.
Final Thoughts on Garage Door Sensor Installation
Numerous issues can arise for you as a result of a damaged garage door system. It should frequently be treated as an emergency and remedied right away.
We have highlighted a few easy steps and tips to assist you in getting your garage door operating properly. Each step has been succinctly explained to minimize the likelihood of errors occurring during the replacement.
Frequently Asked Questions About Garage Door Sensors
How much does it cost to replace a sensor on a garage door?
The cost to replace a garage door sensor varies from project to project based on unique requirements, labor necessities, time and other relevant factors.
How do I know if my garage door sensor is bad?
You may have a bad garage door sensor if the door won’t close, the sensor lights are off or blinking, or there is no response when the beam is interrupted. Also, if the door reverses after attempting to close, it could indicate sensor lenses issues.
What does it mean when one garage door sensor is green and one is red?
Typically, a green light on a garage door sensor indicates that it is receiving power, while a red light means the sensors are not aligned properly. Both LED lights should be solid to indicate proper alignment and functioning.
How do you wire sensors to a garage door opener?
To wire sensors to a garage door opener, connect the sensor wires running to the terminals on the opener unit, matching the colors (usually white to white, and black to black). Run the wires along the wall and ceiling, securing them as needed, and ensure the loose connections are tight.
How do you line up a garage door sensor?
To line up a garage door sensor, adjust each receiver sensor so they face each other directly across the door opening. Use a level to ensure they are at the same height. Tighten the screws to secure them in place, and check the indicator lights to confirm alignment.
Do both garage sensors need to be green?
Yes, both garage door sensors need to show solid green lights to indicate proper alignment and functionality. If one or both sensors are not green, they may be misaligned or malfunctioning, preventing the door from operating correctly.
Where to install garage door sensors?
Garage door sensors should be installed on either side of the garage door, typically about 6 inches above the ground. They should be mounted on the door tracks or the wall, facing each other to create an invisible beam across the door opening.